slskd - a powerful p2p file sharing tool
·
cenotaph's docs
slskd is the best web-accessible option for the soulseek network
Most Soulseek clients aren't suited well to being remotely connected to- slskd is the exception, but can sometimes be confusing to configure when you're doing it for the first time. Herein, I hope to both help you get set up and also to clarify things so you understand what you're doing and can easily maintain your system later.
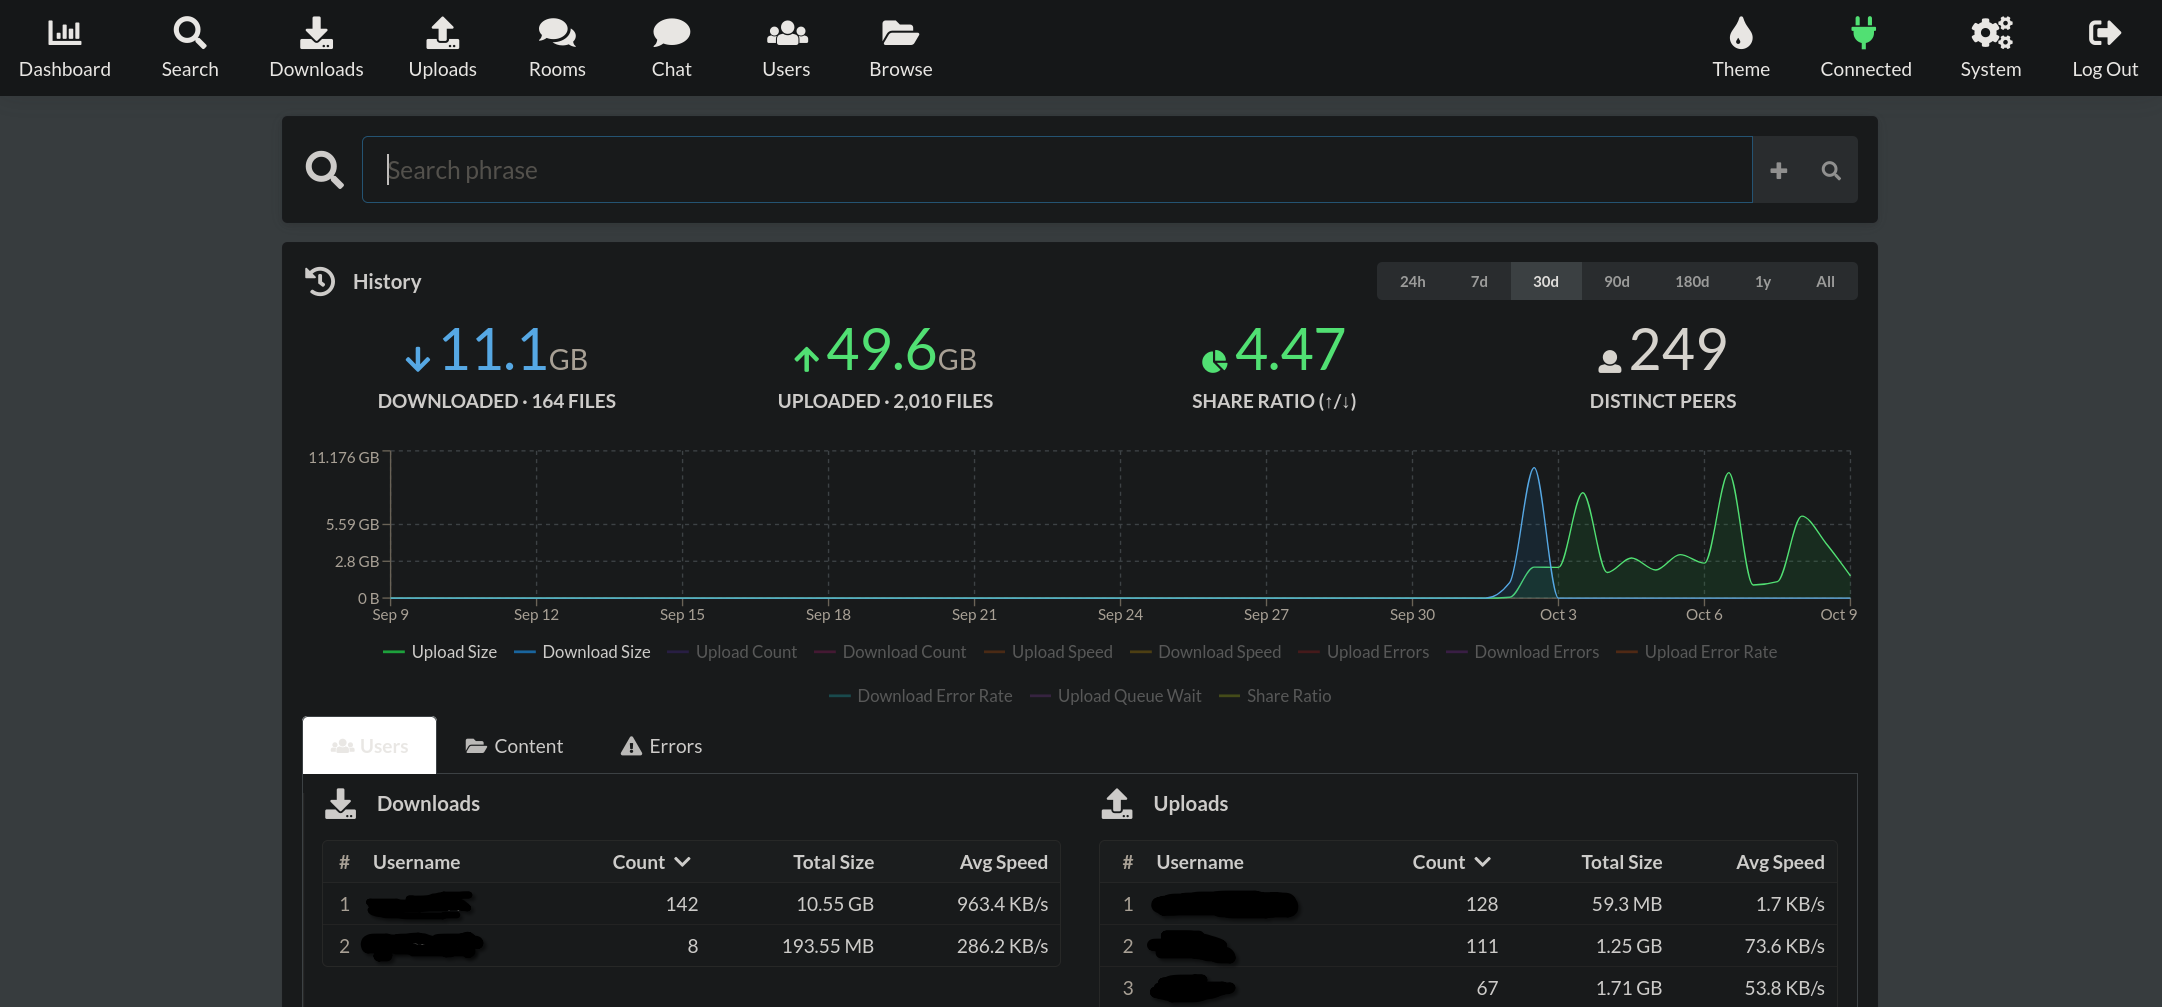
An example of my demo slskd instance dashboard
Soulseek is a network of peer to peer file sharing clients with a built-in (but entirely optional) IRC element. While initially created for sharing audio files, basically any type of file can be used. This guide is technically a "Part 2" to my guide on setting up a Navidrome music streaming server with a beets sidecar for cleaning up metadata, and I think slskd is most useful when paired with those, but it can also be read entirely independently if you just want to set up slskd.
There are a few different options for clients, most notably the default client and Nicotine+. These are both excellent options if you are running it locally on your desktop. However, if you'd like to instead be connecting to a webui on a central server that handles the downloads as you would for something like my qbit+gluetun guide, then those options won't work so well. There are technically docker images available for them, but they aren't true web interfaces. They use a fake desktop environment that is running the same version of those clients that you would download for your desktop. While this can work, they are not built with being exposed to the internet in mind and are more resource-hungry for the server side than a dedicated web client would be.
Enter slskd. Unlike the other clients available, slskd is a daemon with a purpose-built web interface and is specifically intended to be able to be exposed to the internet. This makes it more secure, more lightweight, and a better experience if you'd like to access the soulseek client remotely through something like Pangolin.
Like most of my guides, we're going to be using Docker Compose. I generally prefer it because it allows you to handle configuration and updating of a large variety of services through a few easily digestible .yml files. If you don't have docker and docker-compose already set up, I don't see a reason to reinvent the wheel so I'll direct you to docker's own docker engine guide and docker compose guide before continuing, as those will be prerequisites for the steps to follow.
Before Starting
Security
Because you cannot control the usernames or filenames/content in other people's share directories, I strongly recommend that a VPN is used when using the Soulseek network. The VPN increases your security in two ways: it encrypts the data which makes what you browse private from your Internet Service Provider, and it also conceals your IP so your rough location isn't exposed to every random person you connect to.
For an easy method of putting slskd behind a VPN, I prefer gluetun. Steps on how to set that up with a P2P client behind it can be found in my qbit + gluetun guide. All of the steps to include slskd are the same as for qbit because they perform similar but distinct functions. Just be sure to move the ports section of the docker compose file (to follow) up into the gluetun container, like we de for the qbit ports in that guide. If you've already completed the qbit+gluetun guide, slskd can be added to that docker compose to run both off of the same gluetun continer.
Configuration Hierarchy
Before getting into the nitty-gritty of our configuration, it's important to clarify a common point of confusion with slskd. There are four discrete places where you can declare your configuration options for this software:
- Docker environment variables
- The YAML configuration file
- Docker command line arguments
- Run-time overlay
Environment variables are the variables we set for slskd to use as it starts up, and they're defined either in your docker compose file under the "environment" section or in a .env file if you've set one up.
The YAML configuration file is a file normally generated on first run, and unless you've set a specific place for it to be mounted in your compose file, it will be found in the folder you've set to be the /app folder in the volumes: section of your docker compose file.
Docker command line arguments are arguments you add to the command line to launch the docker container. If you're using a web interface like dockge or arcane you may not encounter these, but they are a way of configuring docker by passing variables alongside the command you would use to start your docker stack. If you're managing your docker via CLI then you likely already use these.
Run-time overlay refers to adjusting options in slskd via an API call. This can only be done with a more limited subset of the config options, but must first be enabled. I don't use these so I'm not as familiar with them, but they follow the OpenAPI standard. By default this is blocked for security reasons and must be enabled by setting SLSKD_REMOTE_CONFIGURATION to true.
In order to prevent conflicts between these four ways of configuring, they have a hierarchy in which they are applied:
Default Values < Environment Variables < YAML Configuration File < Command Line Arguments < Run-Time Overlay
What this means is that something defined in the YAML config file will supercede that same thing defined in the environment variables of the docker compose. The highest "priority" configuration is what is done on the fly with the API, and the lowest "priority" is the default values.
It should, however, be noted that some of the more granular settings like group-based speed limits can only be configured using the config file. I'll note any of these when I talk about them in the configuration section.
The Compose File
services:
  slskd:
    image: slskd/slskd
    container_name: slskd
    ports:
      - "5030:5030"
      - "5031:5031"
      - "50300:50300"
    user: 1000:1000
    environment:
      - SLSKD_REMOTE_CONFIGURATION=false
      - SLSKD_USERNAME=webUI_username
      - SLSKD_PASSWORD=webUI_password
      - SLSKD_SLSK_USERNAME=username_for_soulseek
      - SLSKD_SLSK_PASSWORD=password_for_soulseek
      - SLSKD_SHARED_DIR=/file-share
      - SLSKD_MY_API_KEY=$Your_Api_Key_Here
      - SLSKD_UMASK=022
      - SLSKD_DOWNLOADS_DIR=/complete
      - SLSKD_INCOMPLETE_DIR=/incomplete
    volumes:
      - /home/pacmondo/docker/data/slskd:/app
      - /data/media/fileshare:/file-share
      - /data/soulseek-downloads/downloading:/incomplete
      - /data/soulseek-downloads/complete:/complete
    restart: unless-stopped
Now, in this example I've thrown in a collection of some of the configuration options you likely want to use in the environment variable section. If you are configuring slskd using the config file, any of the "SLSKD_" environment vars are not necessary. If you are not including any environment variables, then you should comment out the environment: section of the compose by putting a # in front of it or just remove the section entirely.
I'll briefly go through the sections of our compose file:
-
image: slskd/slskd - points docker at the container we want to use, in this case the slskd image from the slskd project account.
-
container_name: slskd - sets the name that other docker containers would use to refer to this one, or the name you would reference it with in the command line when using something like
docker restart slskd -
ports: - maps "virtual" ports that are inside the container to "real" ports that are outside the container, on the networking of the machine itself.
The port number on the left side of the colon is what the program inside the container (in this case slskd) sees. Generally speaking, you don't want to change the port on this side as the port the program is listening to is often hardcoded. The port number on the right side of the colon is the "real" port that the container connects to on your bare metal machine. When trying to connect to the container from anything else, you'll need to use the port you define on the right.
If you want to keep things simple, you can keep these the same. In systems that have a few different stacks running though, you may need to customize what the "real" port is because it would otherwise conflict with ports that have already been assigned to something else. Port 8080 seems to be a favourite of open source projects. In those cases, you just change that right port. For example, if we wanted to change the port we use to access the slskd web UI from our browser to 5060, we'd change that first line in the port mappings to
- 5030:5060.The three mappings we have already shown in my example compose are:
5030, which is for http connections to the slskd webui, like for a reverse proxy.
5031 is used for encrypted connections directly to the container, generally used for encrypted connections over LAN. To use this port locally you need to first set up a self-signed certificate which is outside the scope of this guide (I have to draw the line somewhere or this post is never getting finished) and there are many guides out there on the subject by people far more qualified than I am.
50300 is the default port that slskd listens on for incoming connections when doing its peer to peer connections. If you change the listen port in your configuration of slskd, then you must also change this port mapping to reflect that.
-
environment: - where we define environment variables for our docker container. If you are configuring slskd using the slskd.yml file, you should comment this out or remove it entirely as it will otherwise throw errors. If you're configuring using environment variables you'll define your configuration here, but I'll go through specifically what later on in the "Configuration" section.
-
volumes: - This section is doing something very similar to the "ports" mappings, but we're mapping "fake" folders within the container to "real" folders in locations of our choosing in our machine's file system. The folder on the left side of the colon is the folder on the "real" file system. The one on the right side of the colon is the one that the container is expecting to see. They do not have to be the same name, but when referring to the folder from inside the program (for example in the configuration files for slskd) then you should use the folder on the right. For example, if in a menu in slskd we wanted to refer to the folder
/data/media/musicon our real file system, we would instead enter/music-sharebecause that is what it is mapped to within the context of the container slskd is in. You must have the/appfolder within the container mapped to something, but the others are optional and are included because it's how I like to have my slskd set up. -
restart: unless-stopped - if the program crashes for some reason, it will attempt to restart itself unless you have stopped it manually. I personally prefer this over
restart: alwaysbecause if I have a container manually stopped and restart the machine, it will remain stopped. With the value set toalwaysthe container will attempt to start itself every time the machine comes back online, regardless of whether or not it was manually stopped beforehand.
Configuration
slskd is immensely configurable, so much so that it can be a little overwhelming. To make this section more digestible, I'm going to separate it into two sub-sections. Subsection 1 is necessary configuration. Anything less than this and your slskd may not run. Subsection 2 are the values that I personally like to have/recommend having set.
The full list of configuration options can be found here and an example slskd.yaml file here.
1: Minimum Configuration
-
umask - On Unix systems (like any Linux system) slskd uses umask to define the permissions of files it creates. By default, it uses a umask of
022. This translates to a chmod of644, which means that the owner of the file can read/write, anyone can read, and nobody can execute. This should suffice for most installations, but if something you are integrating with slskd requires different permissions, you would modify it with theSLSKD_UMASKenvironment variable. -
soulseek network credentials - The soulseek P2P network requires authentication for the relay servers used to help broker connections and to host the optional chat rooms. These credentials are (if you're practicing basic account security) discrete from the credentials you use to log in to the web UI for slskd, and they are set using different variables. The variables to set the soulseek server credentials are
SLSKD_SLSK_USERNAMEandSLSKD_SLSK_PASSWORDin the environment variables, and if you're doing this part in the config file it will be in a section that looks like thissoulseek: username: username_for_soulseek password: password_for_soulseekIf you already have an account on the network from using another client, use those credentials. If you do not already have an account, enter your desired username and password here. If the username is not taken it will make the account for you on first run.
-
slskd web UI credentials - What you will use to log in when you connect to slskd via the web UI. The environment variables for this are
SLSKD_USERNAMEandSLSKD_PASSWORD. If you are doing this part in the config file it will be in a section that looks like this:web: authentication: disabled: false username: username_for_soulseek password: password_for_soulseekI don't recommend disabling authentication to the web UI (by changing the value for "disabled:" in this example to
true) unless you are putting it behind some other authentication wall, like a single sign-on service.If you're working from the example config linked at the beginning, there are a few other variables in this section under the "authentication" section. They are not necessary for a minimum install, so I'll be getting to those in the next section but they are coming, I promise. CTRL+F if you're impatient.
-
share directory - not technically required for use of soulseek, but many users have enabled a setting that only allows people to download from them if they are sharing at least one thing, so I recommend setting this and mapping it to a directory on your system that you can put some files worth sharing in. This value is set via env var using
SLSKD_SHARED_DIR. In the config file, the section looks like this:shares: directories: - '/file-share'Note: the directory you enter for your file share should reflect the "fake" folder that exists within the context of the slskd container. For example, if you compare my config example here to the volume mappings we did back in the compose file, I've set the file share to be pointing at the
/file-sharedirectory. In the example compose, this is mapped to/data/media/file-shareon the bare metal system, so slskd will see any files I put in there to be showing up in the/file-sharedirectory within the container.If you want to filter out certain file names from your directory (for example if you don't have a specific folder for sharing and instead just point it at your Pictures folder or something), you can filter out files matching your filters using either
SLSKD_SHARE_FILTERor in the config file using this syntax:shares: directories: - '/file-share' filters: - \.ini$ - Thumbs.db$ - \.DS_Store$Filters must be written in the form of regular expressions.
Those are the minimum config values I would recommend setting for running slskd. If you don't care about the specifics like upload speed limits, data upload limits, or peer filtering, you can get started now. Otherwise, keep reading.
2: Additional recommended configuration
-
slskd API key - If you want to integrate soulseek with other services or any custom automation you may have in your life, you will likely want API key access. If you are making API calls you hopefully already know this, but you really want to be using HTTPS for your connection to the server if authenticating with the API key because otherwise the key is placed in your connection header entirely in plaintext for anyone on your network (or anyone at one of the hops your connection makes on the way) to read at their leisure.
To set this, slskd has a tool you can use for generation by running the container using
docker runwith the--generate-secretflag, but I'm personally partial to generating it withopenssl rand -hex 32, which gives you as random a 32-character hexadecimal string as your computer is likely to be able to give. I like this because almost every Linux distro I've used at least has it in their repositories, if it isn't preinstalled already.You may generate it using other means if you choose, the only limitation in the documentation on the API key is it must be between 16 and 255 characters.
-
Global slot and speed limits - These define limits on how much bandwidth soulseek can use in total for uploading or downloading. These limits can also be split into more granular categories. First, however, the global vars.
SLSKD_UPLOAD_SLOTSdefines how many users can be downloading from you at any one time. If you have 3 slots, 3 different people can be downloading files from you simultaneously.SLSKD_DOWNLOAD_SLOTSdefines how many users your slskd client can be downloading from simultaneously.SLSKD_UPLOAD_SPEED_LIMITis the maximum bandwidth that can be used by all of your uploads put together.SLSKD_DOWNLOAD_SPEED_LIMITis the maximum bandwidth that can be used by all of your downloads put together.
In your configuration file, this section will look something like this:
transfers:
  upload:
    slots: 20
    speed_limit: 1000 # kibibytes
download:
    slots: 500
    speed_limit: 1000
These values are set in kibibytes, or KiB. 1000 KiB/s = 1 MiB/s.
-
Group-based transfer limits
To set more granular transfer limits, you must do it in the configuration file. Because some of these are subsets of others, I'm going to first show the wholetransfers:section, and I'll break down the blocks piece by piece.transfers: upload: slots: 20 speed_limit: 5000 download: slots: 500 speed_limit: 125000 groups: default: upload: priority: 1 strategy: roundrobin slots: 19 speed_limit: 50000 # kibibytes limits: queued: files: 150 megabytes: 1500 daily: files: 2147483647 # effectively unlimited, weekly still applies megabytes: 2147483647 weekly: files: 1500 megabytes: 15000 failures: 150 leechers: thresholds: files: 1 directories: 1 upload: priority: 99 strategy: roundrobin slots: 1 speed_limit: 100 limits: queued: files: 15 megabytes: 150 daily: files: 30 megabytes: 300 failures: 10 weekly: files: 150 megabytes: 1500 failures: 30In this section, we define two groups:
defaultandleechers.-
As the name implies, the "default" is what users who do not fall into another category are placed in.
-
upload indicates that all the settings within this section will only affect uploading files to this type of user.
-
strategy sets how it handles requests from these users when there are multiple users of the same priority.
roundrobindoes a file to each user until all users in queue have received 1 file, then circles back around to start over.FirstInFirstOutpretty much does what it says on the tin: requests are dealt with in the order they are received. If User1 makes 1000 requests, then a minute later User2 makes ten requests, User2 won't receive a single file until all 1000 of User1's are delivered or failed. -
slots, much like the slots section in the global limits, is the max number of concurrent users downloading files from you. In this case however, it is the max number of users that are categorized into this group.
-
speed_limit is exactly the same as the global speed limit, but it applies to the max speed members of this group can download at, even if they are the only user connected.
-
limits is a section where you can set some maximums for this group in some additional categories:
- queued - If all slots are taken, users can queue additional files to download once slots become available. This sets the maximum number of files users may have queued at a time.
- daily limits are the maximum number of individual files, total data, or download failures that this users of this group may have in a given day.
- weekly are all the same limits, but applied cumulatively on a weekly basis.
- monthly as you may guess are all the same limits but applied cumulatively on a monthly basis.
It should also be noted that if two limits conflict, the lowest limit applies. So if you have a limit of 999999 for daily, but a 100 for weekly, the user will still only be able to download 100 MB per week.
-
-
leechers has all of the same properties and definitions as the default group, with one notable difference: the
thresholdssection. This defines the minimum number of files someone must have to not be placed in the leechers group. Anything less than the threshold and these limits will apply.Generally speaking, I recommend setting these to significantly more restrictive limits than your default group. Accounts that don't have even one file shared are significantly more likely to be bad actors, and it will help limit your traffic to be only going to actual users rather than some bot scraping data.
-
User defined groups: you can get even more granular than this by creating your own groups, but these must have users assigned manually to them. Examples of this can be found in the example slskd yaml file here.
-
-
Search request filters - Slskd can be configured to ignore any search requests that match your defined filters. For example, one I recommend is a filter that ignores any request with a query less than 3 characters. These can be defined using
SLSKD_SEARCH_REQUEST_FILTERor in the configuration file using the following example:filters: search: request: - ^.{1,2}$ # discard any requests shorter than 3 characters - ^(\.?pdf|\.?docx|\.?xlsx)$ # discard any requests that might be looking for sensitive documents -
Incomplete & Complete download directories - If you are planning to connect slskd to something else, for example my Navidrome + beets stack guide, you should set both a directory for incomplete downloads and a separate directory for completed. The incomplete download directory can be set in the environment var with
SLSKD_INCOMPLETE_DIR, and the completed downloads dir can be set withSLSKD_DOWNLOADS_DIR. In the config file for my example project, it would look like this:directories: incomplete: /incomplete downloads: /completeOnce again, the directories we reference here should be the "fake" directories slskd sees from the context of its docker container.
Connectability
If you want to have the most available peers to connect to (which generally you do, because this gives you more file shares to search and more content available to you) then you are going to want to have your Soulseek listen port (by default 50300) port forwarded. While you can do this port forwarding on your local router if you aren't using a VPN, I generally advise against opening up your home firewall in this way because it weakens your network security more than is neccessary.
The reason you want that port to be forwarded is that for a peer to peer connection to be made, at least one of the two peers connecting needs to have a port open. If you don't have a port forwarded, then you will only be able to connect to users that do. If you do have that listen port forwarded, you'll be able to connect to anybody and have much better success when searching for more obscure content because you can "cast a wider net".
Not all VPNs will support port forwarding, but gluetun supports all of them so if your provider does support it (for example AirVPN) then you will be able to set it up using the same strategies outlined in my qbit + gluetun guide.
If you don't care about your IP being directly tied to your identity but also don't want to open a hole in your LAN by port forwarding on your local router, another method to achieve this connectability is by using a "raw" TCP resource in Pangolin. All this does is pass the traffic on a particular port from the VPS your Pangolin instance is installed on through the wireguard tunnel to your server. Be aware that direct passthrough like this does not benefit from the authentication wall your Pangolin instance normally provides for resources so you are relying on CrowdSec entirely for security if it is set up. If you haven't already set up Pangolin but like the sound of it, check out my guide on setting up Pangolin.
With that, you should have all the information you need to launch slskd, connect to the web UI at your server IP + port 5030 (for example http://192.168.50.69:5030), replacing the IP with your server's, and get poking around.
As always, if you have questions, I'll help you the best I can. You can message me in my signal chat.
Otherwise, have fun with Soulseek!